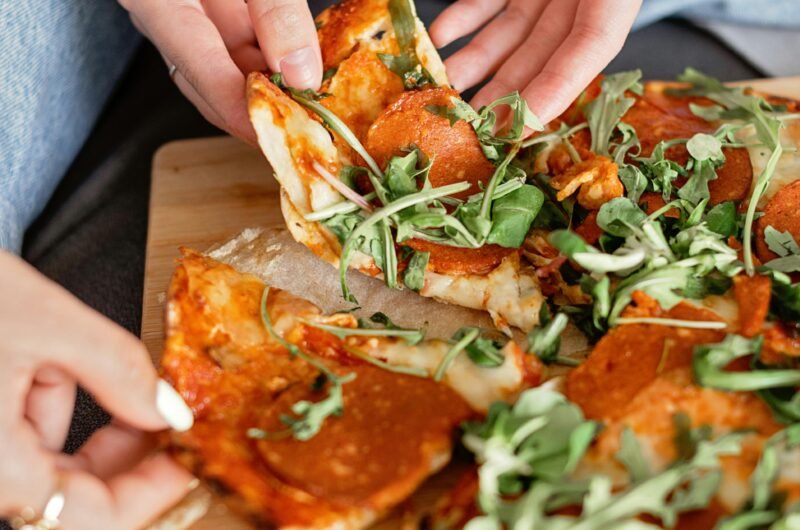
Q: What are pizza roll-ups?
A: They’re crescent dough triangles filled with sauce, cheese, and pepperoni—rolled and baked into mini pizza bites.
Q: Are they good for school lunches?
A: Yes! They pack easily, stay soft, and taste great warm or cold—perfect for lunchboxes.
Q: How long do they take?
A: Just 15 minutes start to finish, including prep and bake time!
Back-to-School Got Me Rolling… Pizza Style
It was 7:15 a.m., and the school bus was due in 20. I had no sandwiches made, no snacks packed, and a toddler painting the dog’s tail with applesauce.
Cue: Pizza Roll-Ups.I tossed together 4 ingredients, rolled ‘em up, and into the oven they went. My kids thought I was a genius.
I felt like one too. Ever since, these roll-ups have saved my mornings and dinners more times than I can count.
Cheesy Pizza Roll-Ups (Only 4 Ingredients!)
Course: 30-Minute Dinners, 30-Minute Meals, Healthy u0026amp; Light, Kid-Friendly, Meal Prep u0026amp; Freezer-Friendly, Starters u0026amp; SnacksIngredients
1 tube refrigerated crescent roll dough
½ cup pizza sauce
1 cup shredded mozzarella cheese
16 slices pepperoni (or any topping you like)
Directions
- Preheat oven to 375°F (190°C) and line a baking sheet with parchment paper.
- Unroll crescent dough, separating triangles.
- Spread 1 tsp of pizza sauce on each triangle.
- Sprinkle cheese, then add 2 slices of pepperoni.
- Roll up each triangle from the wide end to the tip.
- Place on the baking sheet and bake for 10–12 minutes, or until golden and crispy.
- Cool slightly before serving or packing into lunchboxes.
💡 Tips & Variations:
Swap pepperoni for cooked sausage, veggies, or plain cheese.Use garlic butter on top before baking for extra flavor.Let them cool completely before packing so they don’t get soggy.Serve with extra pizza sauce or ranch for dipping.
🧊 Make It Lunchbox-Ready
Let them cool completely before placing in lunch containers.Pack with a small lidded cup of sauce and fresh fruit.Store extras in the fridge and reheat in an air fryer or toaster oven.
🔗 Try These Favourites
🥪 5-Minute Lunchbox Wrap Ideas That Actually Keep Kids Full
🍝 One-Pan Taco Rice Skillet (Ground Beef + Cheesy!)
🍔Easy Cheeseburgers (Fast & Flavor-Packed!)
🛍️ Recommended Tool:
Want perfect roll-ups every time? Try this non-stick baking sheet — affiliate link, but I use mine weekly!
Disclosure: As an Amazon Associate, I earn from qualifying purchases.
📦 Storage
Store leftovers in an airtight container in the fridge for 3 days.
Reheat in the microwave or oven.
Freeze before baking, then cook directly from frozen—just add 3–5 minutes to baking time.
🗨️ Reader Comments:
ShayMom28:> “Made these in a rush before school drop-off and my son actually thanked me. Game changer!”
LizzySnacks:> “These are so easy I made a double batch for the freezer. My picky eater devours them!”
📣 Love easy school lunch wins like this?
📌 Pin it, print it, or share it with your favorite tired parent—and make sure to check out more back-to-school meals that don’t come in a pouch.
➡️ Don’t forget to try our Mini Cheeseburger Sliders next. They’re like fast food… but smarter.

